This is the second entry in a 3-part series about the planning and construction of a custom leather chef’s knife roll. To view just the photos, visit the gallery on Facebook.
Part 1: Discovery and design
Part 2: So, all you have to do is cut out some leather…
Part 3: Getting a handle on things
So, all you have to do is cut out some leather…
With the style, features, and basic dimensions decided, I brought my chicken-scratching sketches (not shown here, because they’re horrible) into Adobe Illustrator and started mapping out the exact measurements. Design software is invaluable for tasks like this, and I often use it to make reusable templates, which I call my ‘product recipes.’
It’s very similar to a food recipe, because it allows you to take stock of all of the needed ingredients to make your final product. And just like when you’re developing a recipe, there’s a bit of trial and error. If you want to successfully recreate something (or avoid a previous mistake), you need to make notes along the way.
From an intellectual standpoint, I knew it would take a lot of leather, but it’s another thing entirely when you look at your rough cut layout and realize it will take 20 letter-sized pages to print the whole thing out and tile it together.
I printed out a small version and wrote up all of my measurements, taped together some large sheets of sketch paper, and created a physical pattern using the exact measurements to recreate my template.
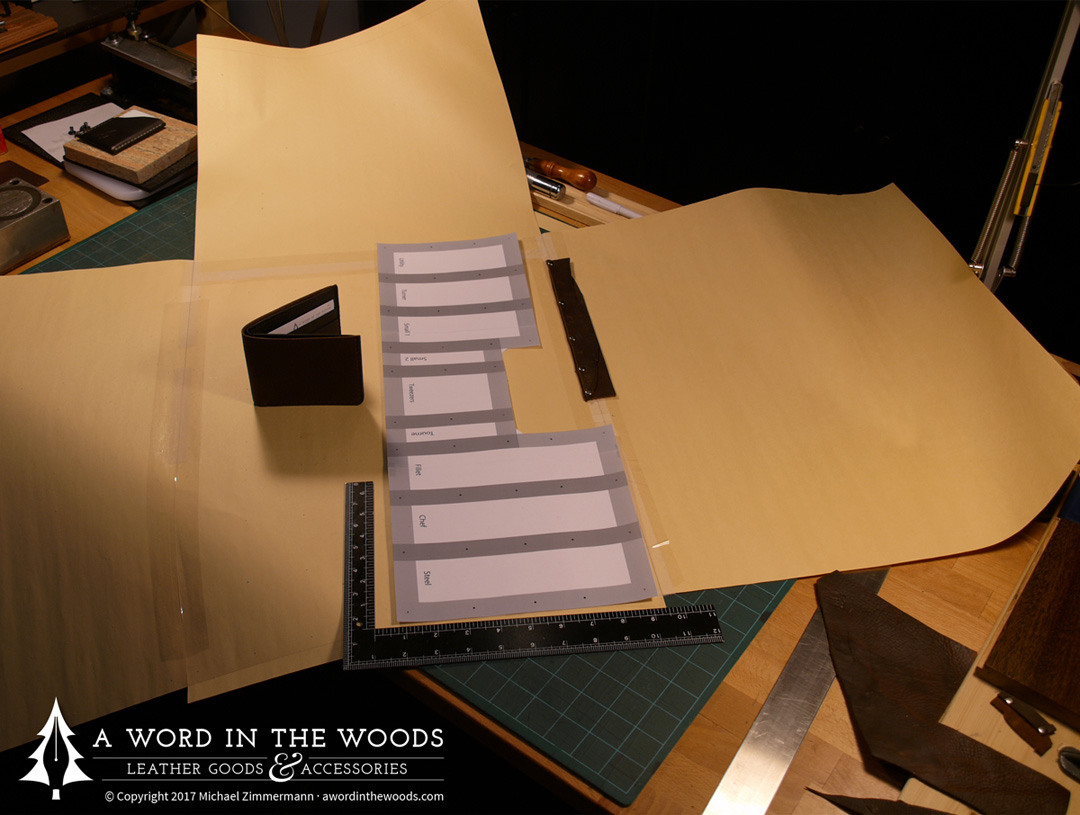
It wouldn’t fit on my desk.
I normally buy full sides, and have several rolls of different types of leather in the studio. I usually make smaller items and only unroll as much as needed, but in this case, I wanted to make the knife roll out of a single piece, so I’d need to see the entire side laid out in order to choose the area. My home studio is in the city, and it’s actually quite small and cramped. I’ve got every spare surface covered with tools or notes, and none of my workdesks are large enough so I opted to use the only open space large enough to unroll 22 square feet of leather—the open concept kitchen adjacent to my work area. So, after a vacuum, mop, and a good ol’ scrub on my hands and knees, I had my extended workspace to choose an appropriate section of leather.
The trick was to incorporate a live edge (and one with just the right character) for the covering flap, and still have a reasonably smooth, even grain for the rest of the roll. I was using full grain leather (see my FAQ here), which often times shows evidence of scars and bug bites, and sometimes there are holes and tears to be avoided. Every square inch of this surface is different. After some back and forth, I managed to accomplish both the live edge (where the leather was originally clipped and stretched) and a consistent, attractive surface for the rest of the roll.

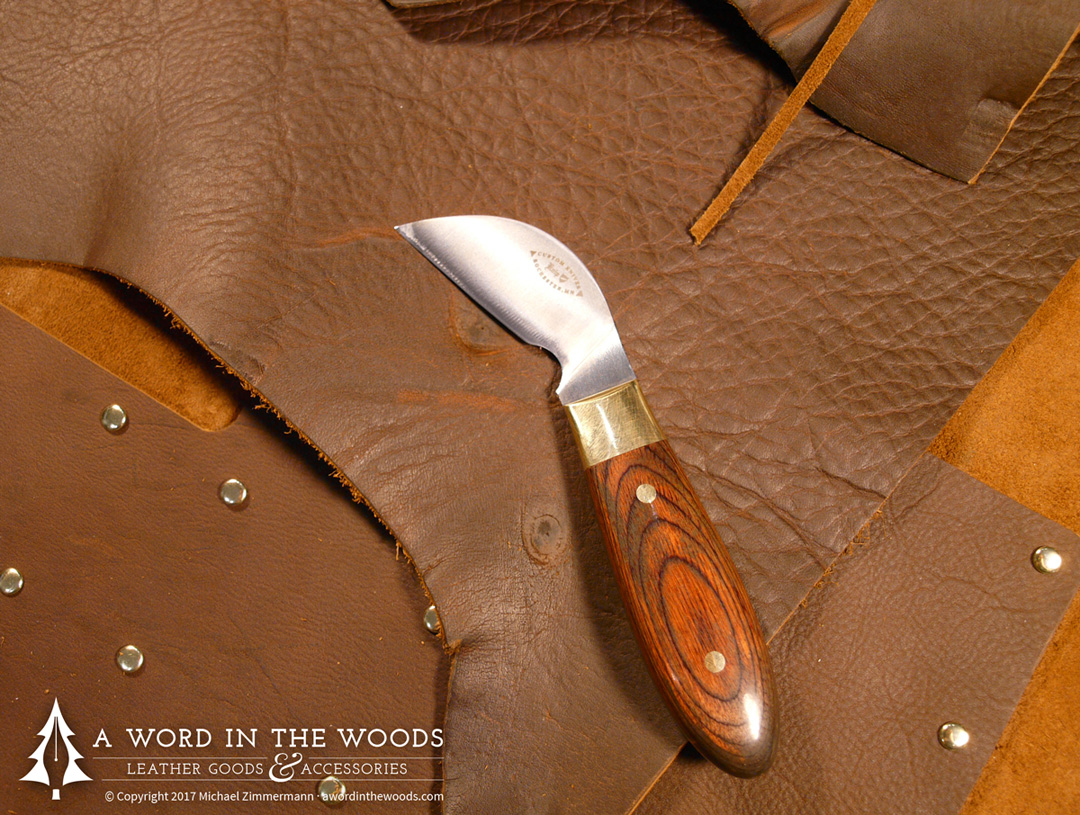
The soft rustic, oil tanned cowhide I had decided on is perfect for rugged uses, and develops a unique, personalized patina almost immediately, thanks to the two-tone ‘pull-up’ effect of light and dark colours moving through the creases.
With the main part carefully marked and roughly cut, I was able to move back to my desk and do the final cutting, paying attention to little details like rounding the inside corners where folds would be made.
All of these cuts were a little nerve-wracking since any mistake meant that I’d not only need to start over, but since the piece was so big, I’d need to source another expensive hide—a 40-minute drive away, and a loss of valuable time and money.
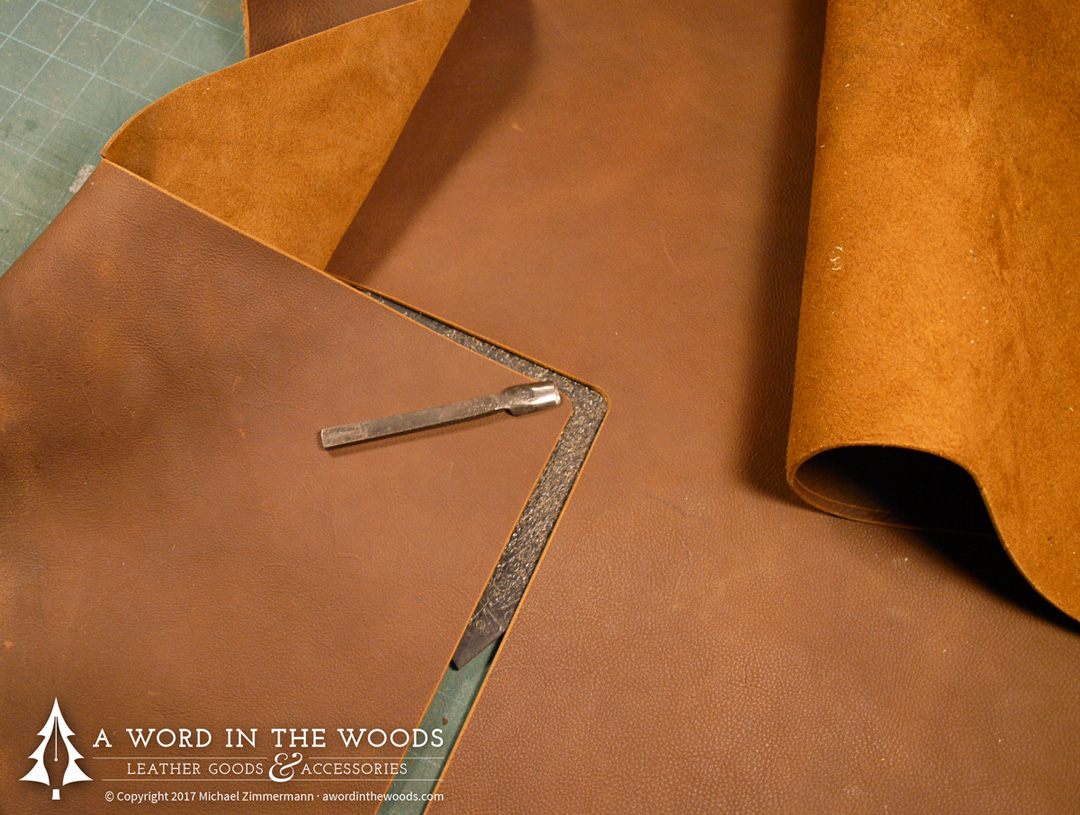
With the main part carefully marked and roughly cut, I was able to move back to my desk and do the final cutting, paying attention to little details like rounding the inside corners where folds would be made.
Simply riveting
Thankfully, everything went well, and my attention to detail in Illustrator paid off. As many leatherworkers will tell you, a template only gets you so far, so as things start to take shape, you need to be able to read the way the material wants to go. I made a few necessary modifications to my plans and repositioned some attachment points as I worked.
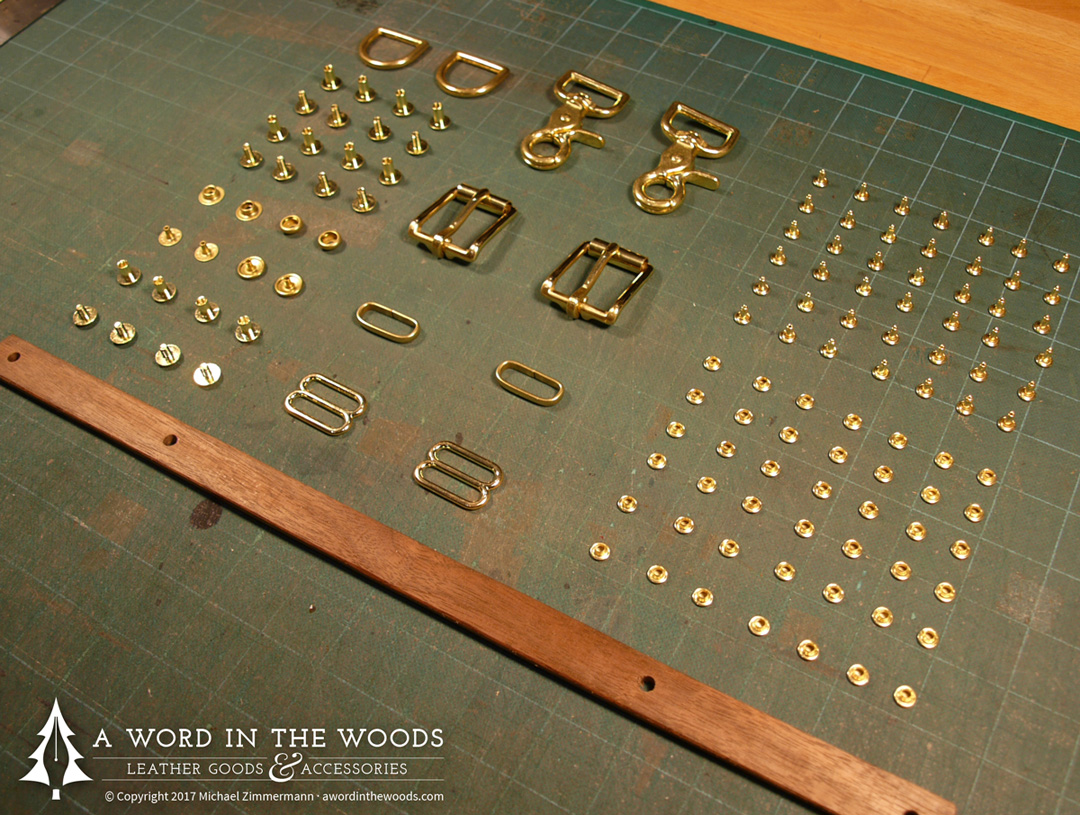
Remember how I called my template a “recipe?” Here’s the mise-en-place for some of my ingredients.
I marked out the positions of every rivet, and once again, nervously held my breath as I punched each one with an appropriate drive punch and mallet.
I then folded the leather and dry-fitted four dozen rivets by hand.
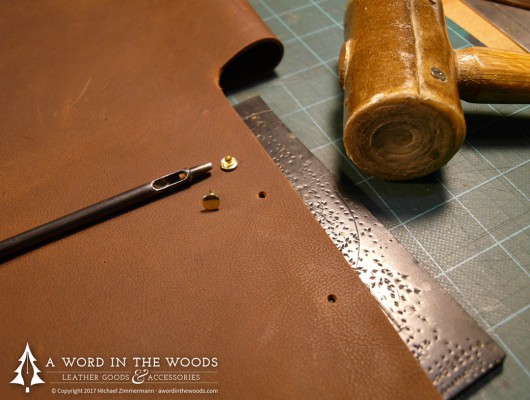
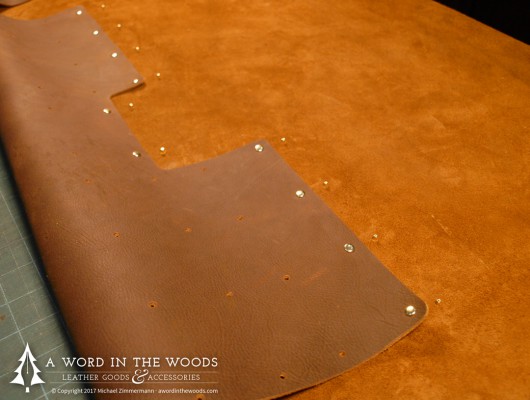
I opted to use double-cap rivets out of solid brass with a clean finish on both sides for a great mix of quality, strength, and beauty. As the roll started to come together, it was clear that it was worth these extra details.
Next up [Coming Soon]: Handles, straps, and accessories…
This is the second entry in a 3-part series about the planning and construction of a custom leather chef’s knife roll.
Part 1: Discovery and design
Part 2: So, all you have to do is cut out some leather…
Part 3: Getting a handle on things