Many people may not be familiar with what goes into making handmade leather goods, so for a recent custom build, I remembered to break out the camera at a few points along the way to help illustrate my process.
The criteria
I firmly believe that good design needs to be more than pretty — design solves a problem, so that’s where we start.
Here’s what I needed to make:
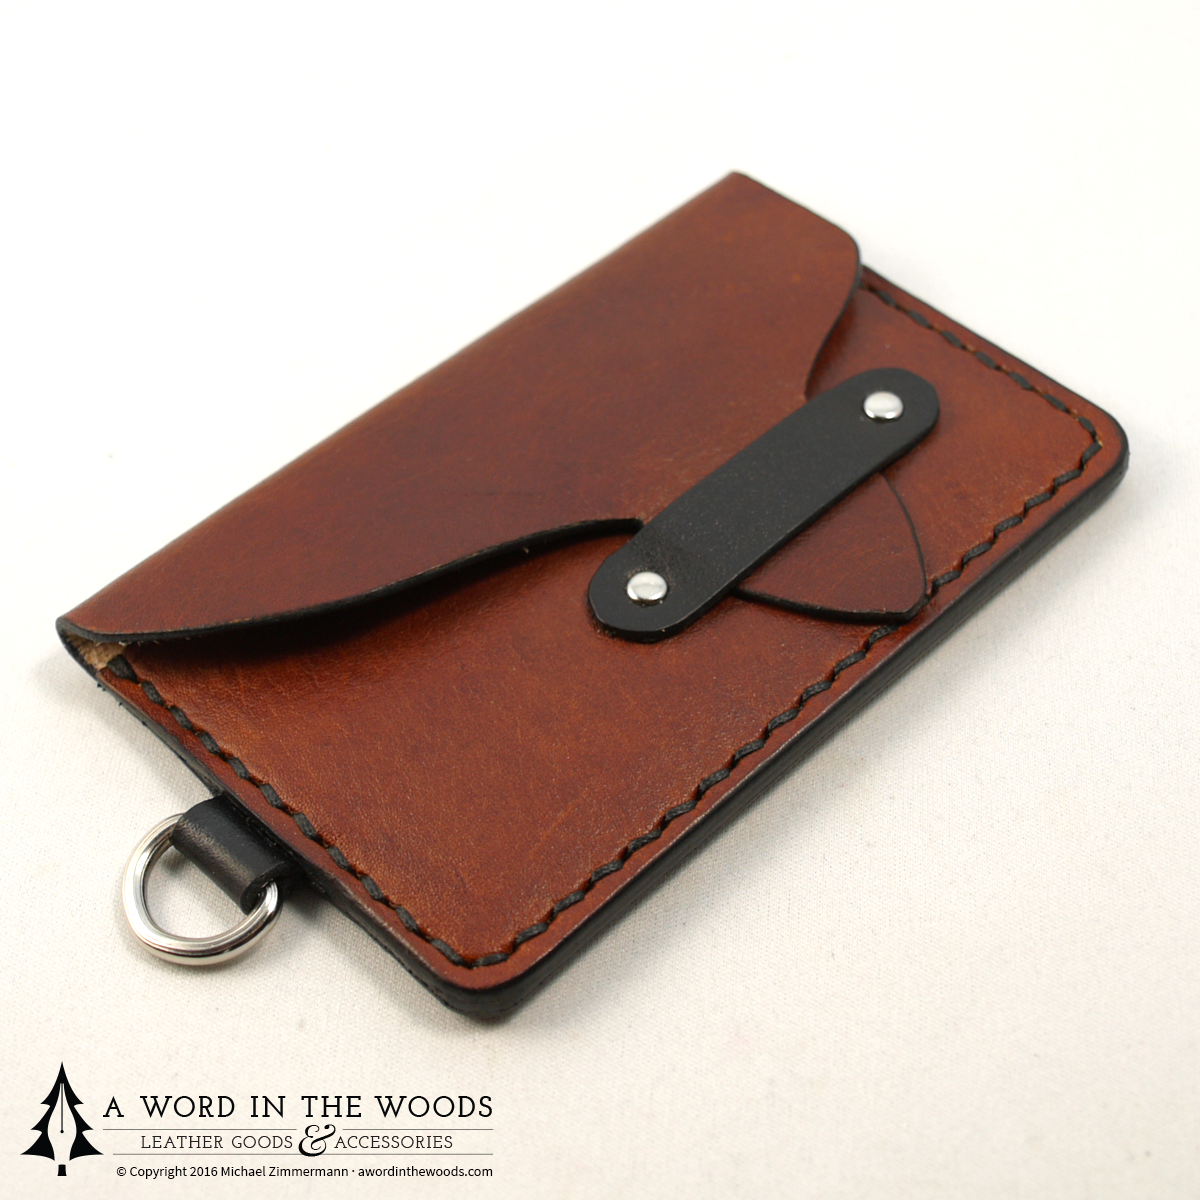
- A holder for 4-5 cards, with a way to integrate a personal money clip. Previous holders have been slightly too tight – should not be a struggle to get cards out
- Must be slim – owner intends to sit on it.
- Place to attach chain – somewhat chunky
- likes the tongue/strap enclosure style
- Rustic, brown (likes light-brown with black accent and slightly aged finish)
- Should have easy-to-match hardware colour/finish
In addition, I added my standard requirements, the ones I feel should be represented in every piece that leaves my hands:
- Top or full-grain leather, for long-lasting durability
- Stitched by hand (the only way to get the extremely reliable and secure saddle stitch)
- Hand-finished to stand up to daily use
I’ll outline my design process in a future article, but for now, let’s see how this gets made.
Follow along with this overview, and please let me know if you have any comments or questions.
The leather
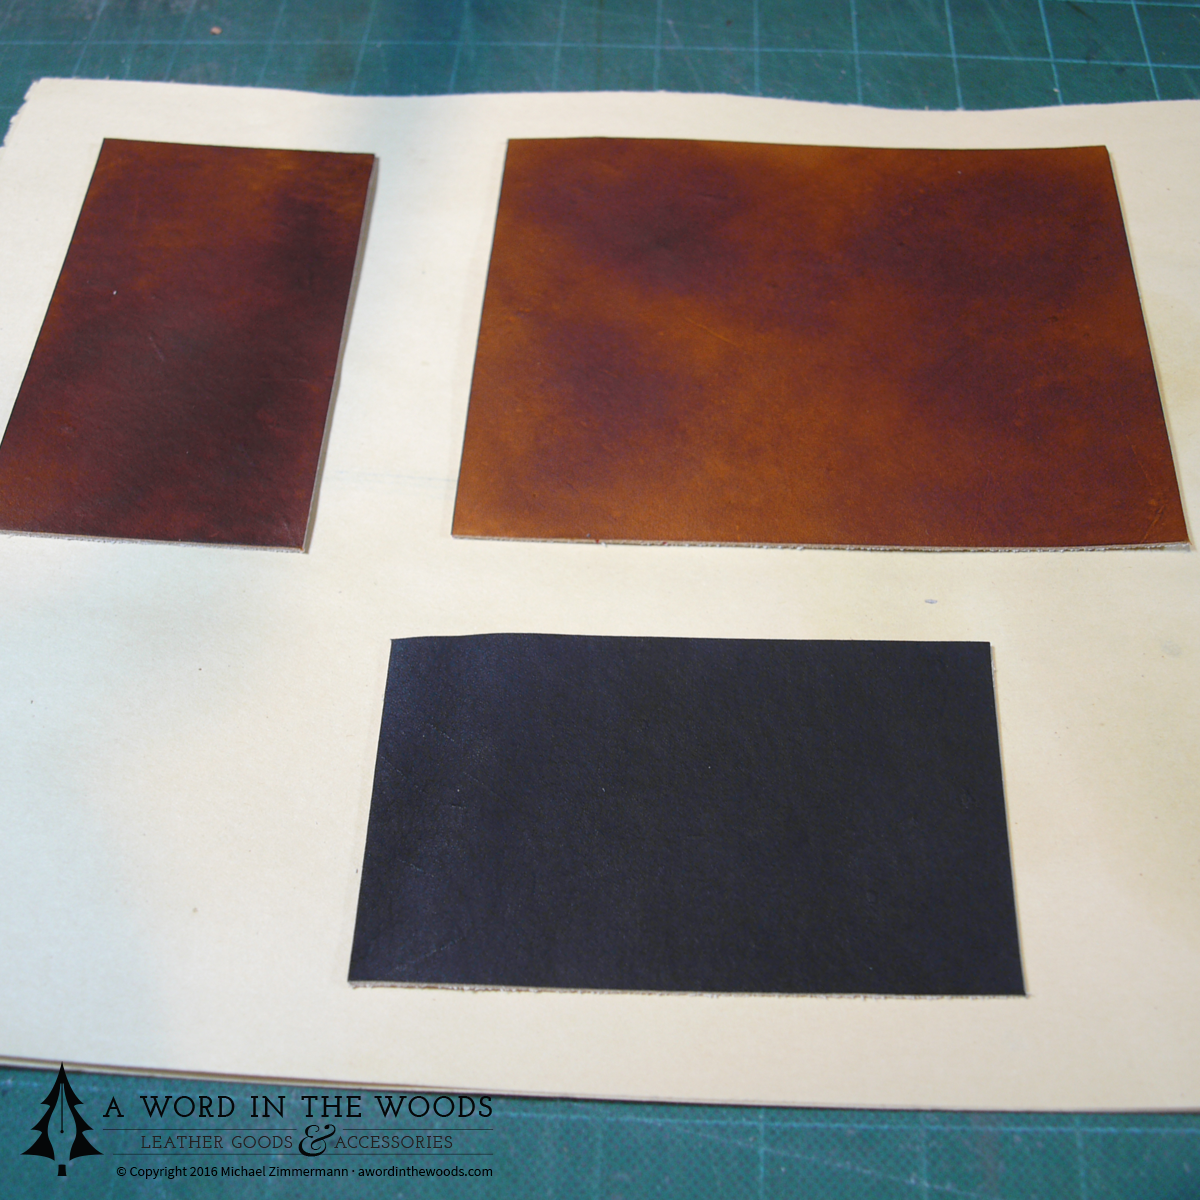
It all starts with a slice of hand-picked, vegetable-tanned leather. I usually buy my leather by the side, and I often sort through dozens of hides before picking one that has the character and quality that I’m looking for.
I measure and cut the pieces out of this raw state of leather, but before doing that, there are hours of sketches, prototypes, and templates that are tried and tested, to make sure I get the most out of my materials. Even then, it usually takes a few full builds with actual leather to work out the kinks.
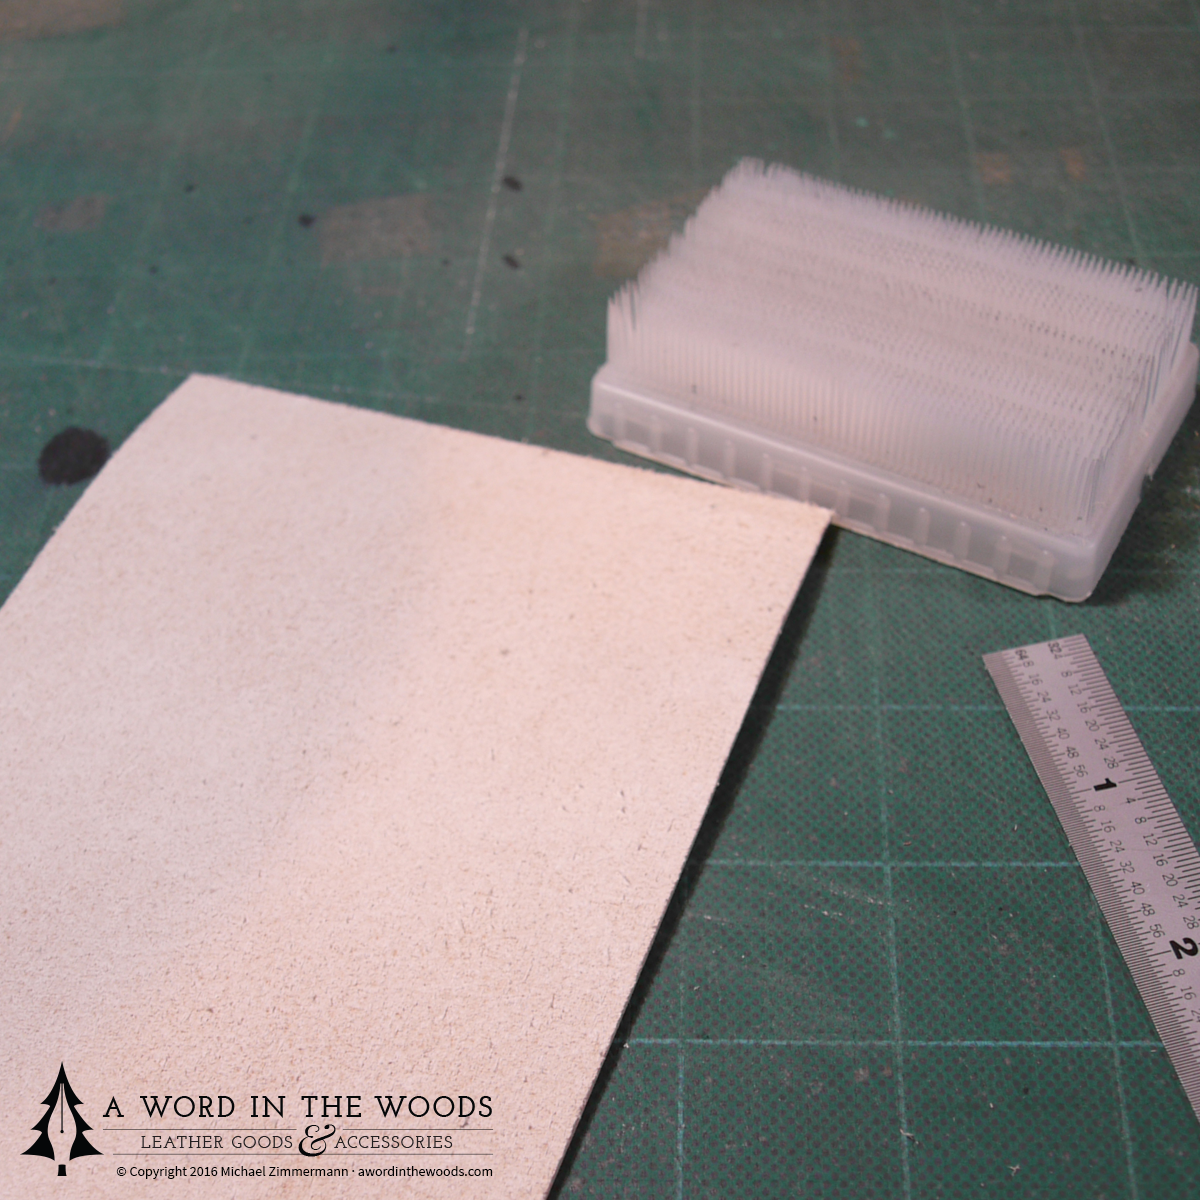
The leather I use here is full grain – it’s the strongest and most durable part, and will stand up to a lot of abuse. In the picture above, you’re seeing the inside, soft suede on the underside of a full grain piece. I brush this to smooth out the texture, and look for any imperfections or problem areas.
The colour
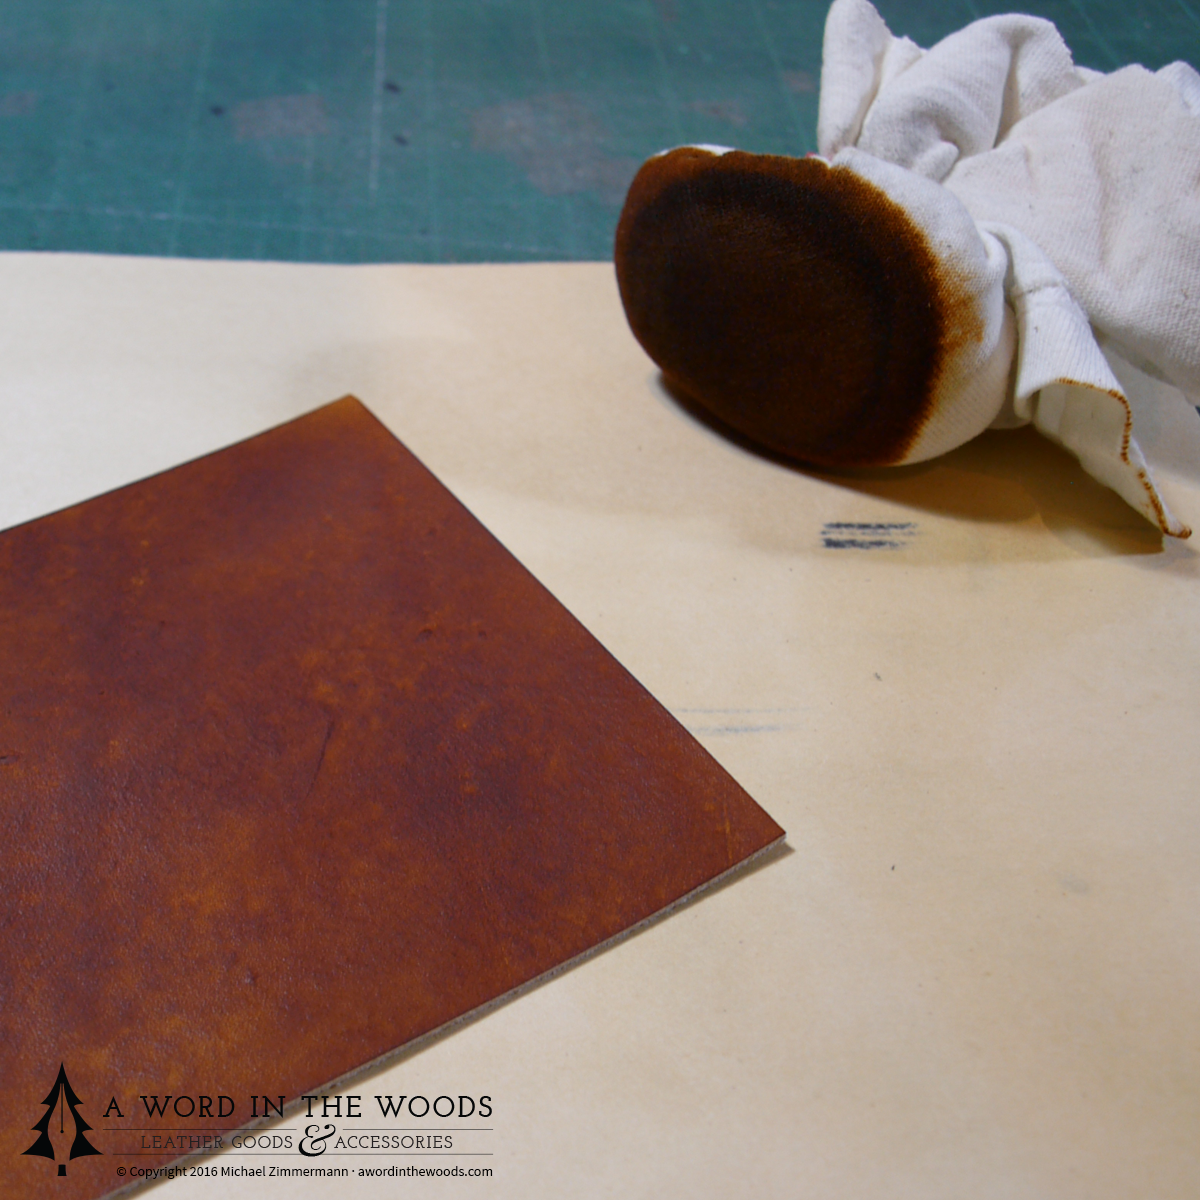
Since I’ve started with natural leather, I need to do all the dyeing by hand. This gives me control over colour and character. I can choose to hide or accent the natural properties of the leather, much like a nice piece of wood is brought to life with a proper oil or stain. Here, I use multiple coats of a professional oil dye.
Just like paint, dyes will look different when wet, and different leathers will absorb pigment in different ways. Even coats are, of course, entirely possible, but in this case, my goal is to bring out some good surface character when it’s finished. The blotchiness you see will fade into a more even colouring when dry, and then I’ll go over with a cloth with dry dye, as sort of a drybrush/antique effect.
The tools
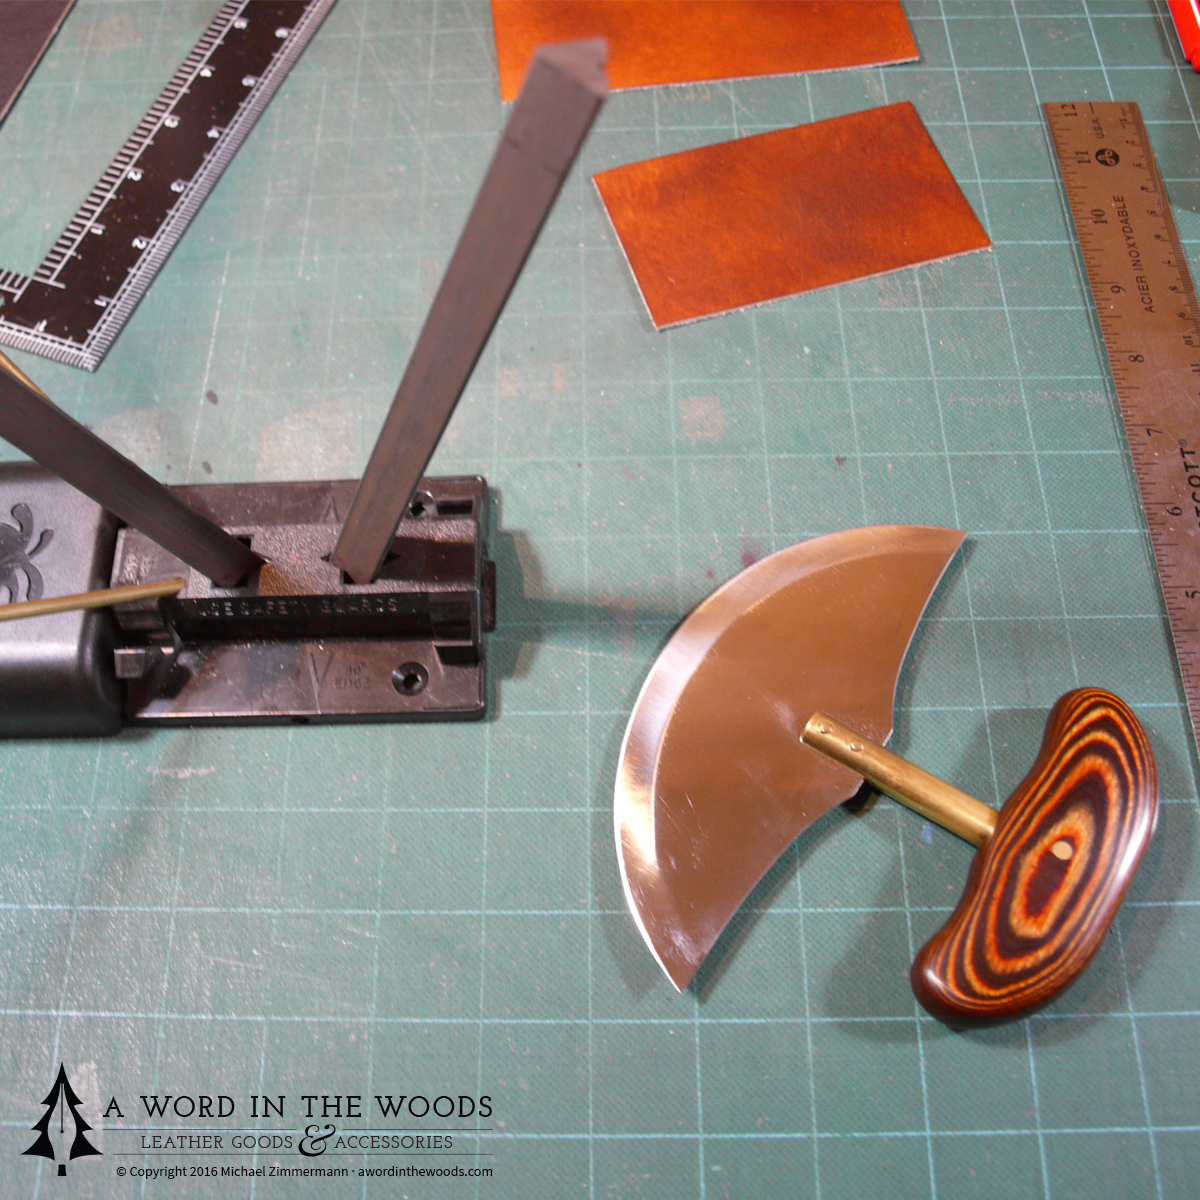
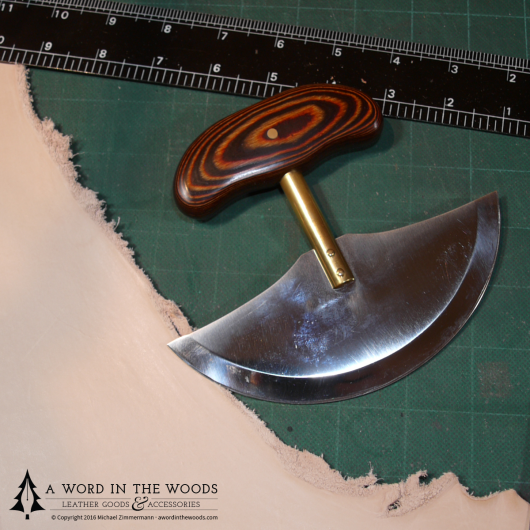
While the dye is drying, I’ve got time to maintain my tools. This ulu is traditionally a skinning and general utility tool, and was valued for its versatility. The one pictured above is a style specific to Canadian Inuit.
ASIDE: In Canada, as well as in many countries and several states, knives with a perpendicular handle are generally illegal. The ulu, however, is specifically exempt from this prohibition in the Criminal Code of Canada. I’m glad this is the case, since in my shop, it takes the place of a similar leatherwork-specific tool called a round knife. I keep it razor sharp, and it rings like a bell every time I take it from its wooden stand on my desk.
The cuts
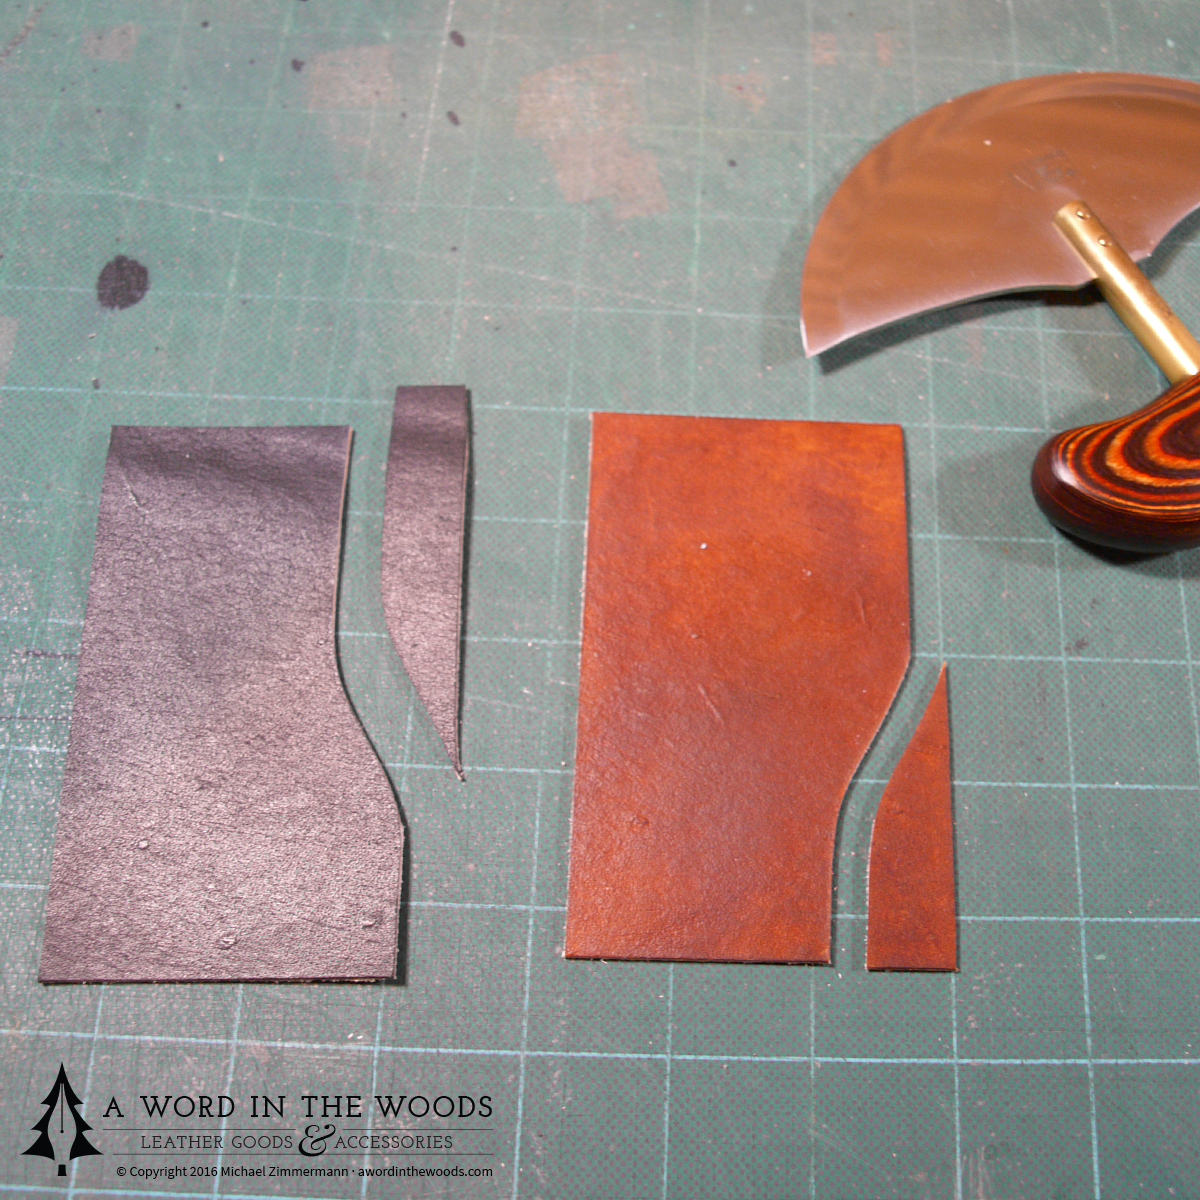
Here’s the reason for needing your tools to be sharp — for precision cuts, you don’t want your edge to slip and mar your work, or worse yet, cause an injury. The design of the ulu or round knife allows freehand curves like these to be cut cleanly and predictably, by pushing away from you, rather than drawing towards you, like you would with a craft or utility knife.
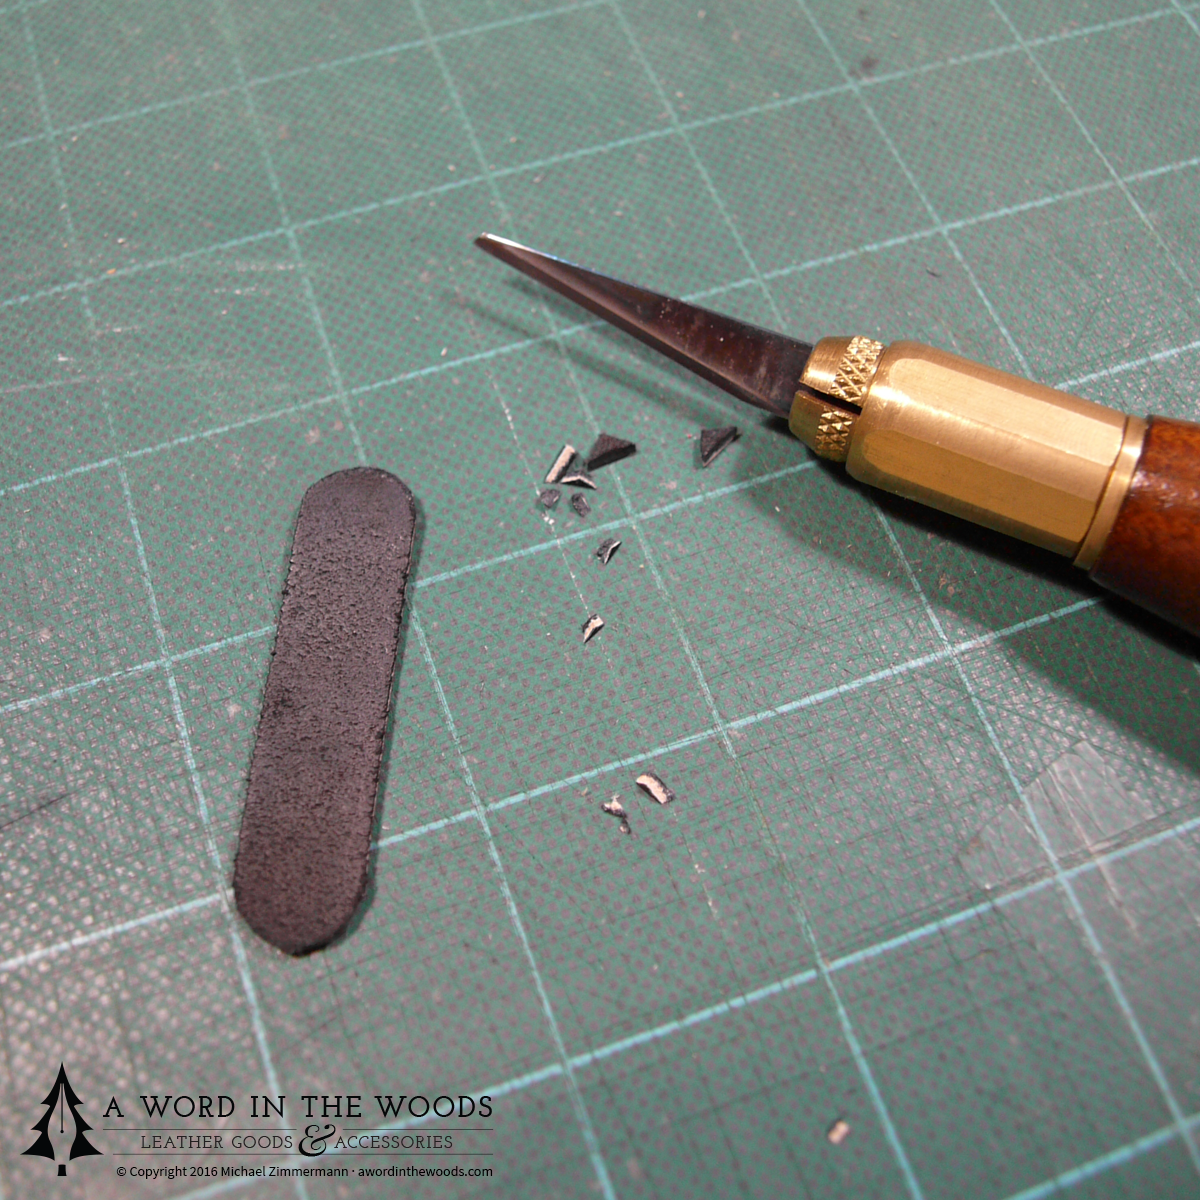
Pieces that need rounded corners are cut with a modified wood-carving knife, using a series of straight cuts on the corners until the facets are gone. The curve is then sanded to smooth it out further.

All of the freshly-cut edges then need to be dyed again. There’s no quick way to do this.
Also, there’s a big step that I don’t show here, and that’s finishing the edges. There are many techniques, and it’s boring to watch, do, and photograph, so I’ve skipped it here, but after burnishing, creasing, rounding, and burnishing again, we end up with the edge fibres tightly compressed, polished, and sealed.
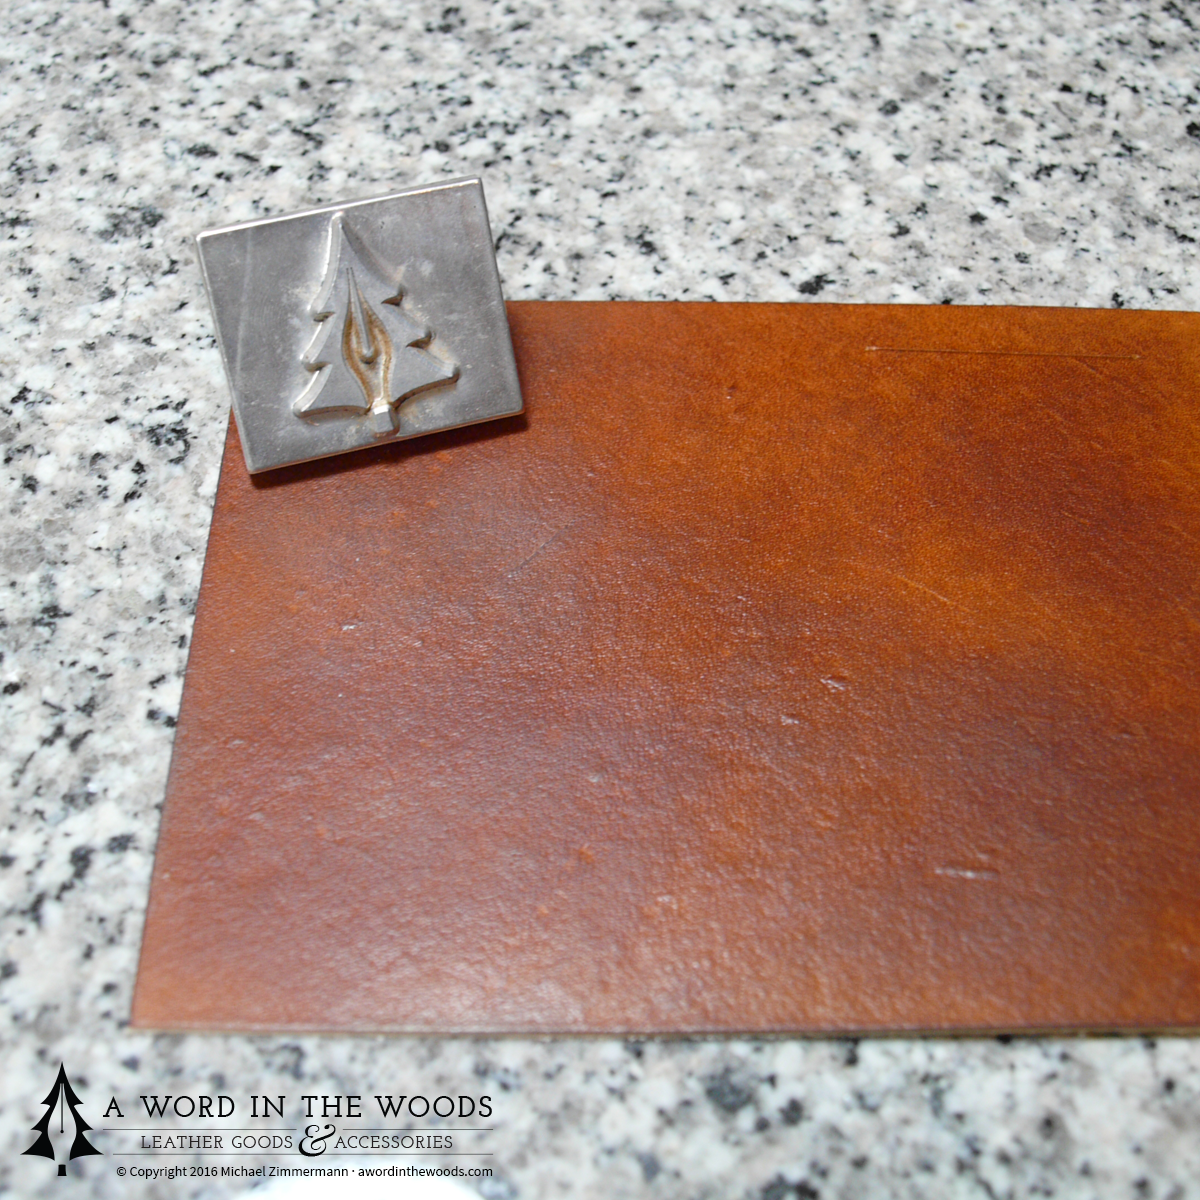
For some reason, I almost always forget to set my maker’s mark. You can see the metal base of my touchmark here, resting on the granite of my stone tooling base. The granite acts a solid anvil when the stamp is struck and the leather is compressed against the stone. In the photo above, you can barely see the slot that I’ve cut for a money clip on the back. I’ll add a small hole to either end of the cut for a clean slot.
The assembly
It may look simple, but good prep and precision pay off when assembling. Leather’s an organic material with imprecise properties, but you can nevertheless strike a balance between character and cleanliness.

Design notes: Here you can see the way the curved cuts interact. This particular cutout is an ogee S curve, and you can see that when they overlap, they form the peak of a gothic arch.
The place at which the intersect is at the “golden mean” (aka “golden ratio”) of the length, and the retention strap is at the golden ratio point of the width.
A few steps are fiddly and require a good amount of attention, so I didn’t take any photos of the gluing and riveting steps. A lapse in focus at this stage, and you could end up starting from scratch. Once the pieces are glued, the edges are rounded, sanded, dyed again, and lightly burnished. Then a stitching channel is marked with dividers to ensure an even seam allowance.
Hand stitching is done in a wooden clamp called a stitching pony, whose jaws are covered in suede, so they don’t mar the piece. I wield two harness needles, one in each hand. They each pass through every hole in a criss-crossing fashion, each loop drawn tightly to ensure a very strong assembly. Unlike machine-sewn lock-stitches, this saddle stitch will not pull out or unravel easily.
After stitching, the ends of the thread are melted, and the stitch lines are hammered to ensure they lie even and flat. The edges get a final burnishing, and the surfaces are polished and buffed.
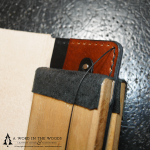
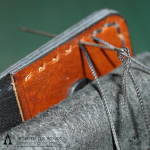
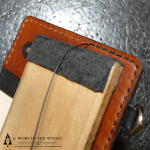
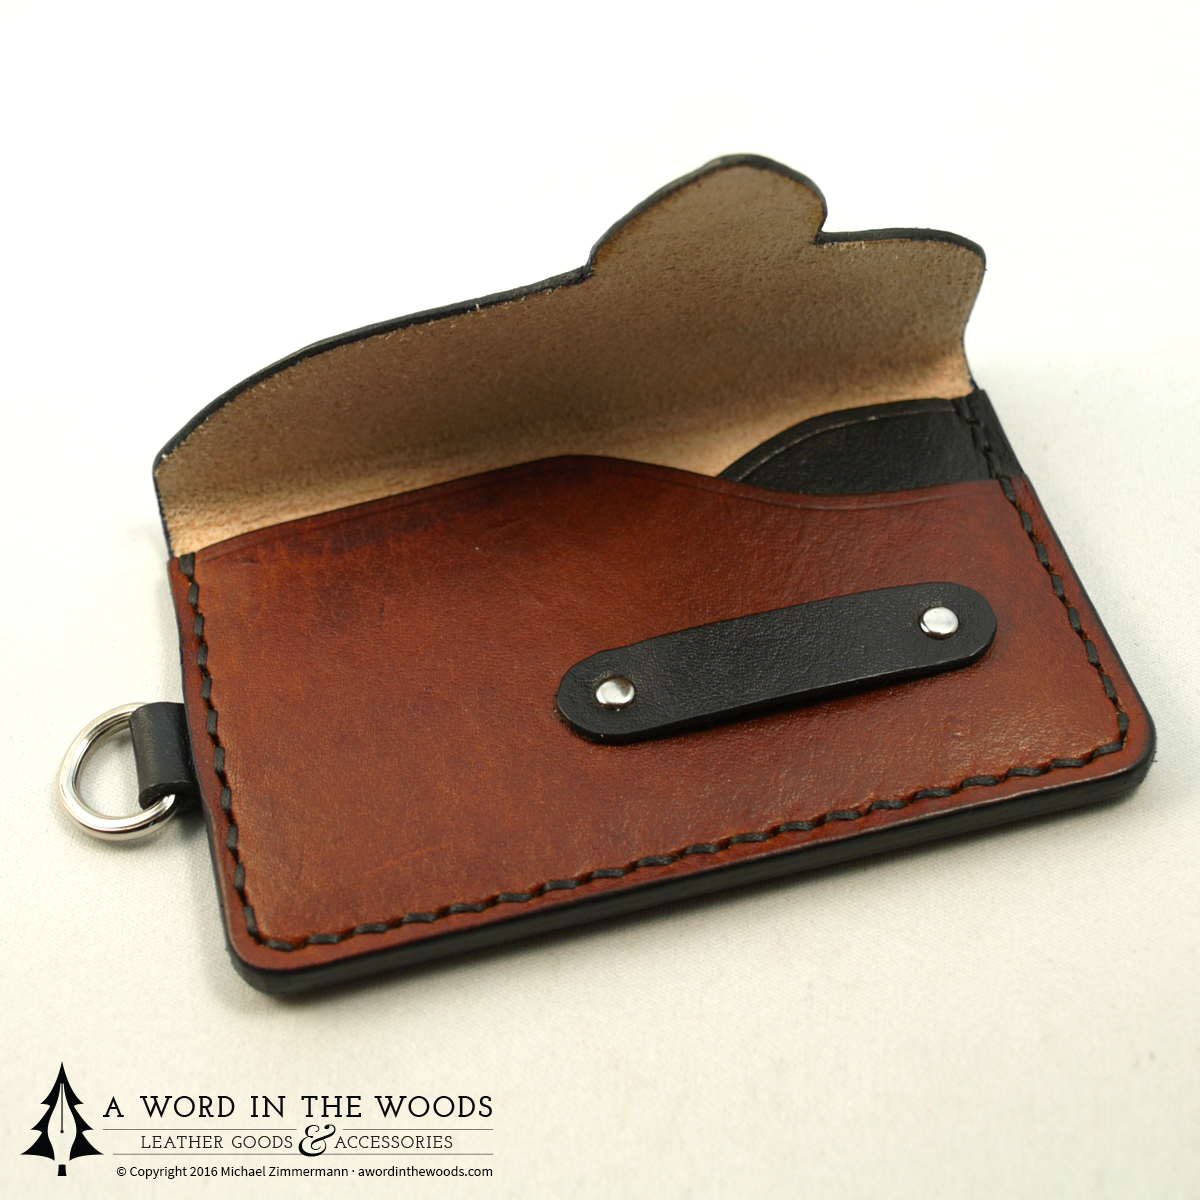
The finished product
I hope this was interesting, helpful, or educational for you. For more information, see my FAQ, or contact me directly.
Follow this link to read an in-depth article on how I make a custom chef’s knife roll.
If you’re interested in hearing more, I invite you to follow me on Facebook, Twitter, or Instagram — and please visit my shop at shop.awordinthewoods.com